Share this
by Bridget.Giacinto on Jun 10, 2014 9:08:34 AM

A boot disk, also know as a boot disc or startup disk, is defined as any digital storage media that contains a small operating system, which allows you to start Windows and execute a utility program, like backup software for example. If your hard disk drive fails, or your operating system will not start, a boot disk will allow you to boot up your computer off the disk rather than from your actual hard drive. This post will walk you through how to create a boot disk to recover your entire system using your NovaBACKUP Disaster Recovery (DR) image backup.
In the case of a hard drive failure where your OS won't start, a boot disk could help you to gain access to your computer, potentially giving you the opportunity to create an image backup, while you still can.
If you have not done so already, install NovaBACKUP. If you need a trial of the software to follow along, you can download a trial now.
If you would rather watch the video, you can do so here:
If you have already created an image backup using NovaBACKUP and you are now ready to do a restore to your new PC (or you're preparing for the just in case), simply launch NovaBACKUP and follow these steps to create your boot disk.
Step-by-Step Guide on How to Create a Boot Disk
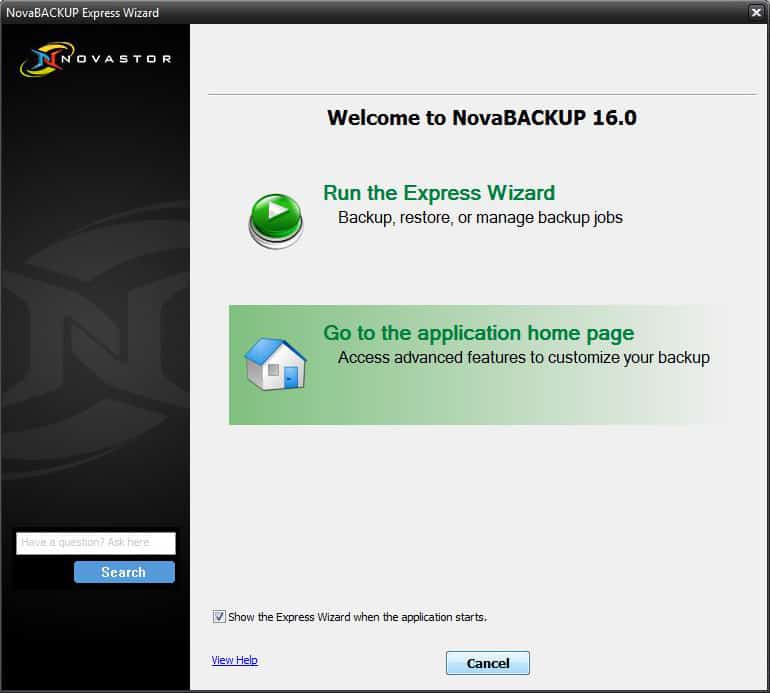 Step 1: Go to Application Home
When you launch NovaBACKUP this screen comes up. You want to go to the application home page. If you would like to prevent this screen from launching in the future, just uncheck the box and it will no longer launch on start-up.
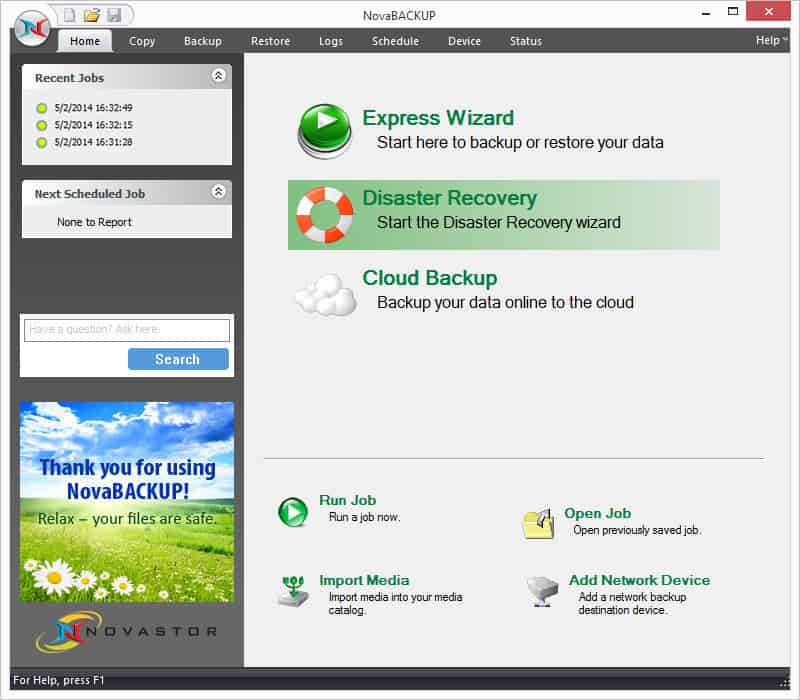 Step 2: Select Disaster Recovery
Click on the Disaster Recovery module to start the wizard.
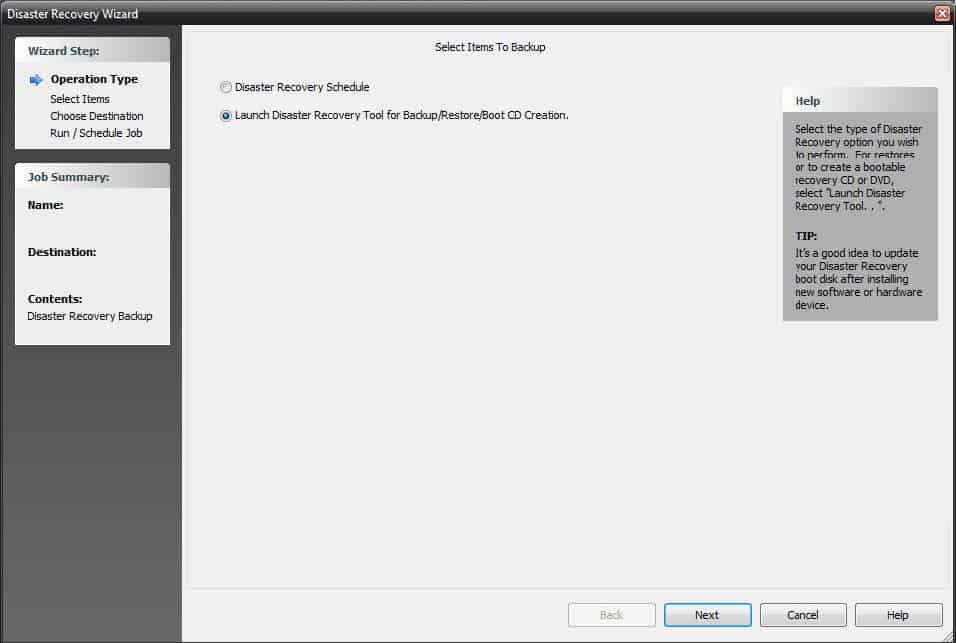 Step 3: Select Boot CD Option
Click on the option to launch the Disaster Recovery Tool for Backup/Restore/Boot CD creation.
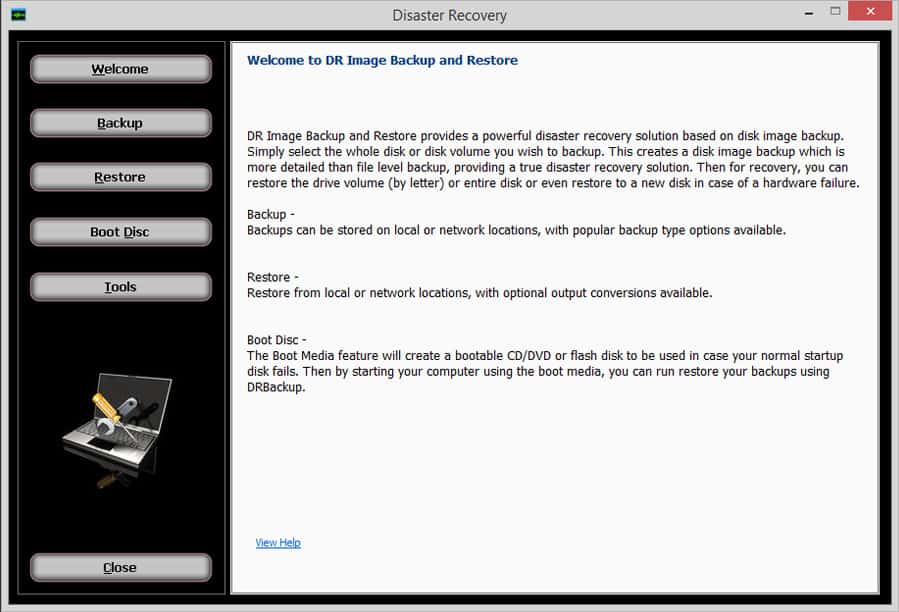 Step 4: Select Boot Disc
Click the Boot Disc button on the left to create a bootable CD/DVD or flash drive to be used in case your normal startup disk fails or you need to recover your DR to another computer.
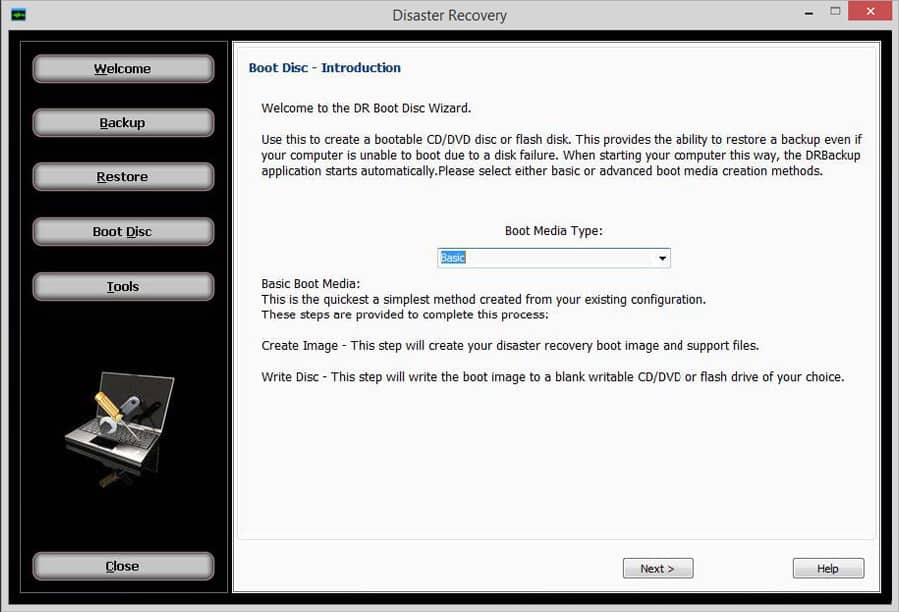 Step 5: Select Boot Media Type
There is a Basic and an Advanced option. For most users, Basic is sufficient. This will allow you to create a boot image and write it to the CD/DVD or flash drive of your choice.
 Step 6: Create Your Boot Image
This step will allow you to create your customized disaster recovery (DR) boot image. To add your own drivers or applications check the box to show the optional files list. Most users will not need to do so. Click the Create Image button.
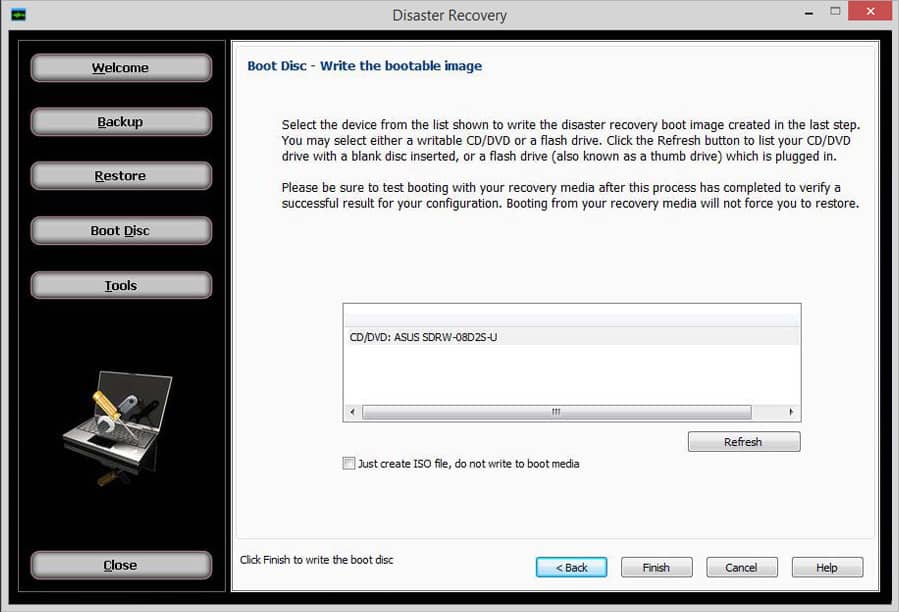 Step 7: Write Bootable Image
Select the device you would like to save to. If your writable CD, DVD, or Flash Drive is not shown, insert the blank disc or plug in the drive and click refresh. Click Finish to write the boot disc.
Be sure to test booting with your recovery media after you have finished this process to verify a successful result for your configuration. Just as a side note, booting from your recovery media will not force you to restore. Once you have completed your test, put your boot disk and your disaster recovery image backup in a safe place.
Share this
